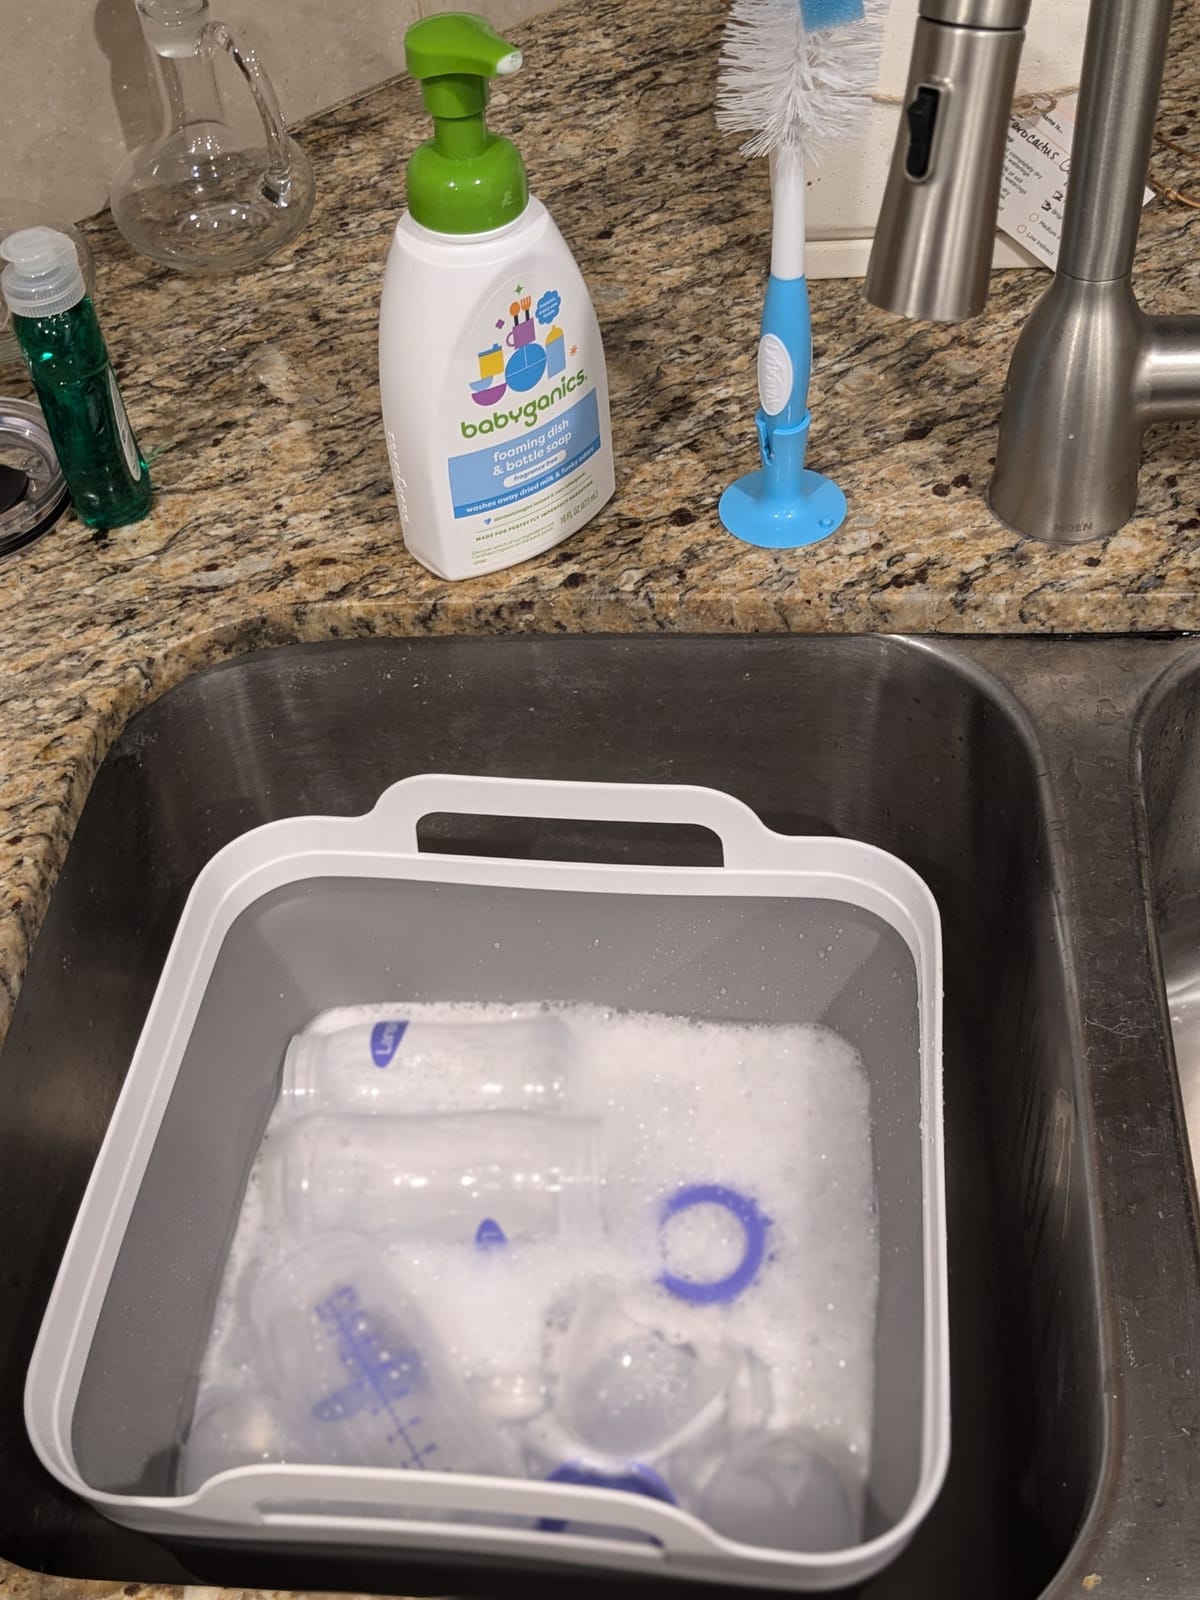
A New Mom's Guide to Bottle Cleaning

Congratulations on your new bundle of joy! As you embark on your motherhood journey, one of the essential skills you'll need is proper bottle cleaning. Don't worry – we've got you covered with this easy-to-follow guide.
Why Proper Bottle Cleaning Matters
Babies have delicate immune systems, making them more susceptible to illnesses caused by bacteria. Clean bottles are crucial for your baby's health and well-being.
What You'll Need
- Hot water
- Dish soap (mild and unscented)
- Bottle brush
- Bottle nipple brush
- Clean towel or drying rack
- Sterilizing equipment (optional, but recommended for newborns)
Step-by-Step Cleaning Process
- Prep: Wash your hands thoroughly with soap and water.
- Disassemble: Take apart all components of the bottle (nipple, ring, cap, valve).
- Rinse: Rinse all parts with cool water to remove milk residue.
- Wash:
- Fill a clean basin with hot, soapy water.
- Scrub the bottle and nipple with respective brushes.
- Clean small parts with your fingers.
- Pay extra attention to threads on bottles and caps.
- Rinse Again: Thoroughly rinse all parts with clean water to remove soap.
- Dry: Place items on a clean towel or drying rack. Air drying is best.
- Sterilize (if needed):
- Boil parts in water for 5 minutes.
- Or use a steam sterilizer following manufacturer instructions.
Pro Tips for New Moms
- Clean bottles immediately after use to prevent milk from drying.
- Replace bottle nipples every 1-2 months or if they show signs of wear.
- Consider having multiple sets of bottles to always have clean ones on hand.
- When traveling, bring along pre-measured formula and hot water in a thermos for easy preparation.
Remember, you've got this, mama! Proper bottle hygiene might seem daunting at first, but it'll become second nature in no time. Your baby's health is worth every effort, and you're doing a great job!
Have questions? Don't hesitate to reach out to your pediatrician or a lactation consultant for personalized advice.

